Tutorial Arduino Firmware Upload
Contents
Download and installing the Arduino IDE
Download and install Arduino 1.6.12. from https://www.arduino.cc/en/Main/Software
We will make a clean portable install to avoid conflicts with other arduino installs/libraries etc.
Rename arduino-1.6.12 to arduino-1.6.12P230
Navigate into this folder
Create folder "Portable"
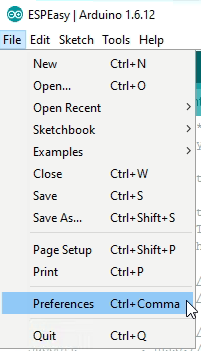
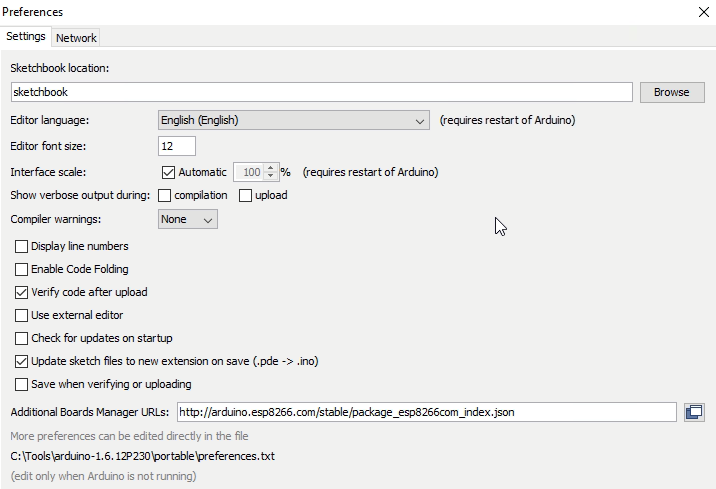
Launch arduino.exe and select preferences
Enter the URL for additional boards. Currently we use the 2.3.0. stable version so you should enter:
http://arduino.esp8266.com/stable/package_esp8266com_index.json
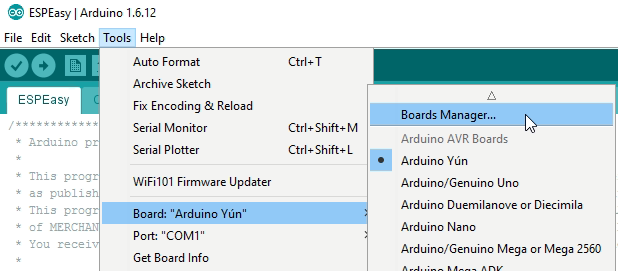
Now navigate to the board manager
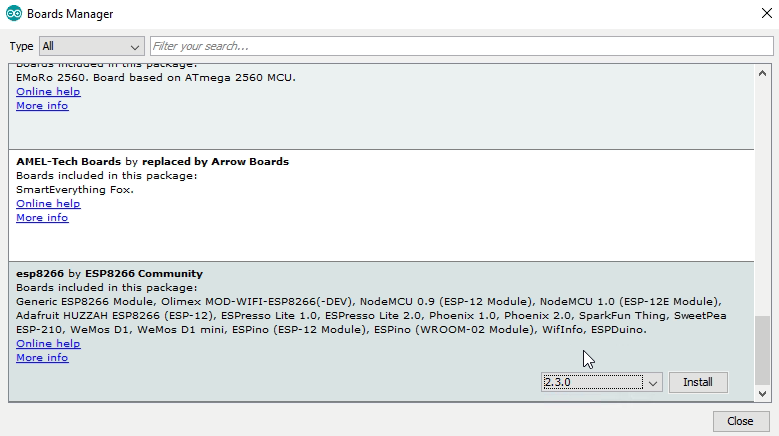
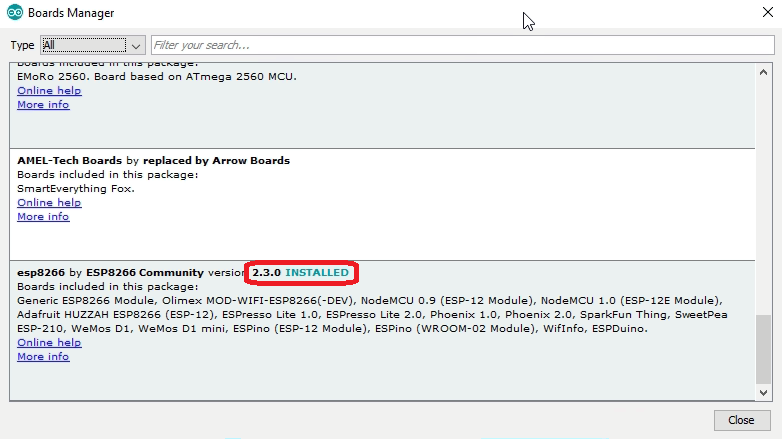
You should see the ESP option, select 2.3.0 version
Click install (this will take some time, be patient, it should download approx. 450 MB)
Download ESP Easy Firmware
Download the version R120 from our website at Main_Page#Stable
The zipfile contains a folder named "source" and that contains two subfolders. Unpack the zipfile to some folder of your own choice and navigate to the source folder.
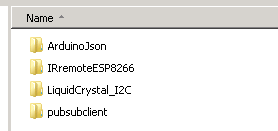
The libraries folder has 4 libraries. These folder should be copied to the Arduino libraries folder
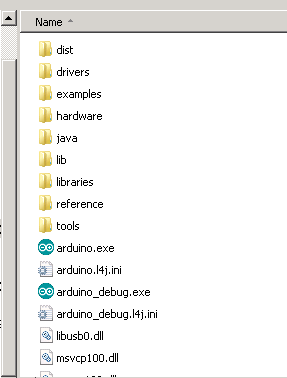
This is the folder structure for Arduino IDE. You can see the libraries folder in here.
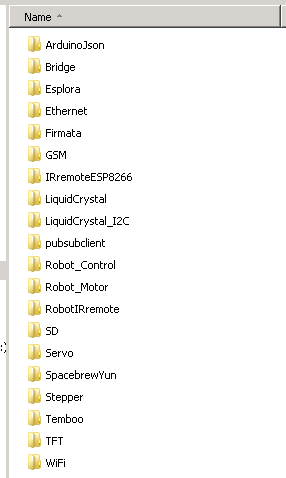
Once the additional libraries are copied, it should look like this:
Compile and upload
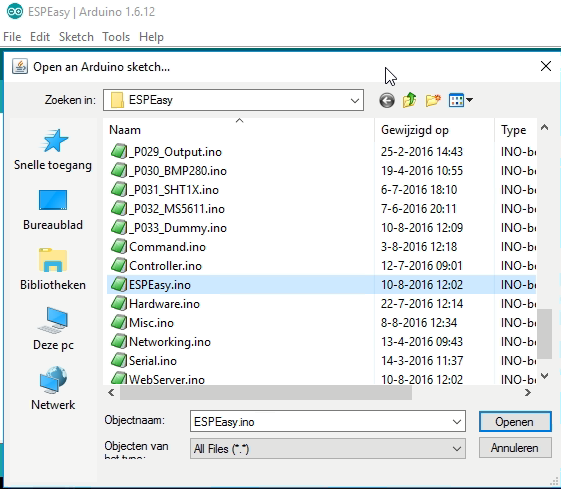
Launch Arduino IDE and navigatie to the ESPEasy folder. Open ESPEasy.ino
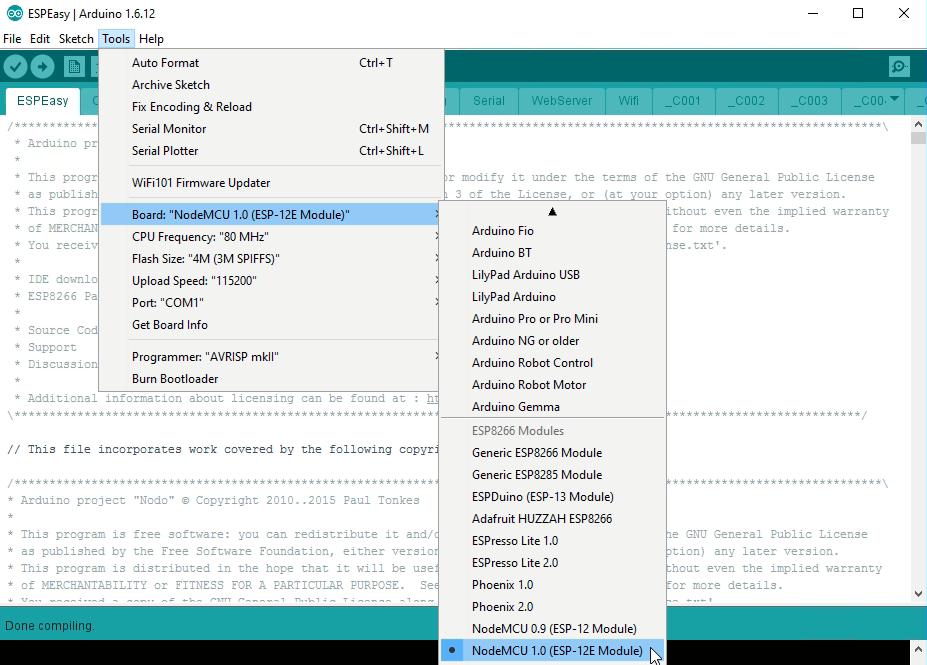
It's important the select the right ESP board.
NodeMCU boards: If you have a NodeMCU V1.0 board, selection is easy:
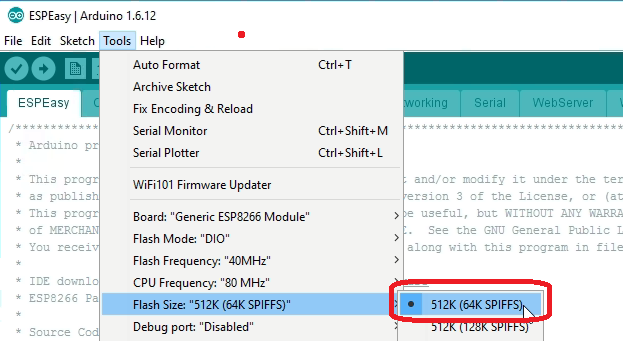
Generic ESP boards: If you use a generic ESP module with 512k Flash, like the blue colored ESP-01 or the ESP-12 or ESP-201, you have to set parameters manually.
In this case it is very important to select the right SPIFFS size!!: (Without at least 64k reserved for SPIFFS, ESP Easy will not work!)
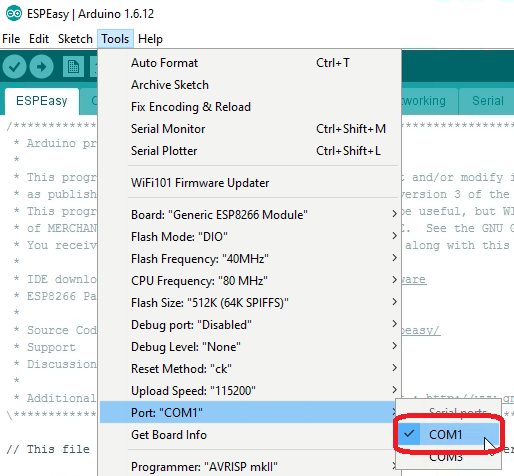
And select the right COM port:
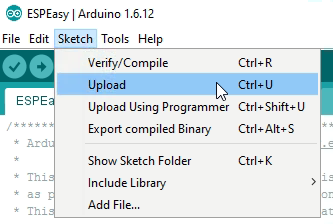
Finally, upload the sketch to your ESP board:
Please remember to set the esp module in programming mode by pushing and holding the flash button, and pushing the reset button once. (but on many recent development boards like the NodeMCU V1.0 this manual interaction is no longer needed)
If all went well, the result in your status window should look like this:
Updating source files
If you want to compile newer versions, download the source from github
https://github.com/ESP8266nu/ESPEasy
and copy these folders over the current ones that were obtained with the R120 zipfile.
