Difference between revisions of "OLEDDisplay"
(Created page with "= Introduction = The ESP8266 module can be used to control an I2C OLED SSD1306 Display. Mainly to display sensor values locally. = Hardware = File:OLED.png Connect the O...") |
|||
| Line 1: | Line 1: | ||
= Introduction = | = Introduction = | ||
The ESP8266 module can be used to control an I2C OLED SSD1306 Display. Mainly to display sensor values locally. | The ESP8266 module can be used to control an I2C OLED SSD1306 Display. Mainly to display sensor values locally. | ||
| + | |||
| + | We currently only support text messages, 8 lines of 16 characters. | ||
= Hardware = | = Hardware = | ||
Revision as of 09:21, 28 November 2015
Introduction
The ESP8266 module can be used to control an I2C OLED SSD1306 Display. Mainly to display sensor values locally.
We currently only support text messages, 8 lines of 16 characters.
Hardware

Connect the OLED Display to the I2C interface. This display works with 3V3 and can be connected directly to the ESP module.
Connections
 LCD 	 	ESP-01
 GND 	 	GND
 VCC    	-
 SDA		GPIO 0
 SCL		GPIO 2
Software
Custom sketch
ESP Easy
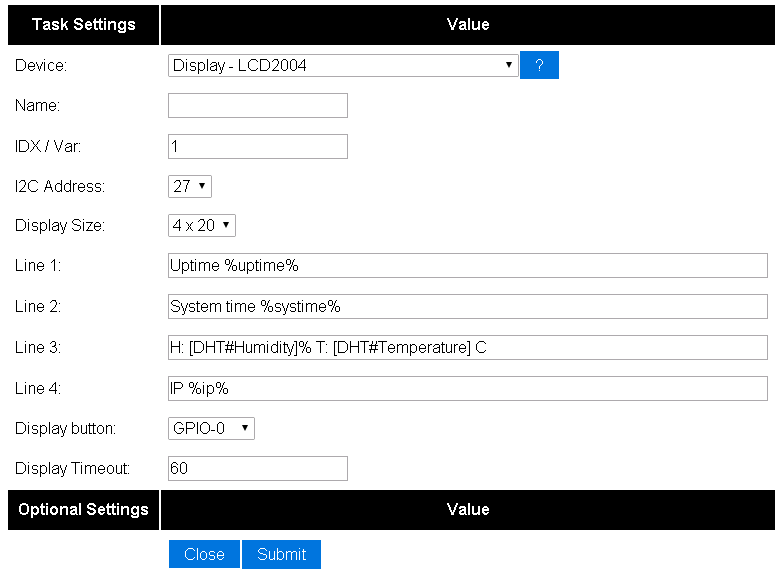
Use the device tab on the ESP Easy webinterface and create a new task by editing one of the available tasks. Select "Display - OLED 1306" from the dropdown box.
Enter template texts into lines 1 to 8. Plain text will be shown on the display exactly as entered. If you want to show a value, enclose <task name> and <value name> between brackets, separated by a hashtag.
So if you have a dallas sensor running, with taskname "Dallas", to get the temperature value, use this:
[Dallas#Temperature]
Check this sample on how to get it done:

(The IDX field will be stuffed with '1', because it's needs a value. But nothing will be send with this device)