Difference between revisions of "Tutorial preparing to work with github"
| Line 44: | Line 44: | ||
| − | Start the installer and click though it: | + | * Start the installer and click though it: |
[[File:Install github desktop.png]] | [[File:Install github desktop.png]] | ||
| Line 51: | Line 51: | ||
| − | The configure step is usually ok: | + | * The configure step is usually ok: |
[[File:Gitdesktop configure.png]] | [[File:Gitdesktop configure.png]] | ||
| − | Skip the Repositories step: | + | * Skip the Repositories step: |
[[File:Gitdeskapp skip local.png]] | [[File:Gitdeskapp skip local.png]] | ||
| Line 60: | Line 60: | ||
Now you can clone your forked repository to your local computer. | Now you can clone your forked repository to your local computer. | ||
| − | In GitHub | + | == Cloning ESPEasy to your computer - |
| − | Click the Clone tab | + | |
| − | Select the ESPEasy repository | + | * In GitHub Desktop Click the + in the upper left corner |
| − | Click Clone ESPEasy | + | * Click the Clone tab |
| − | Select a play where you want to store the ESPEasy sourcecode. | + | * Select the ESPEasy repository: |
| + | [[File:Gitdesktop clone.png]] | ||
| + | |||
| + | |||
| + | * Click Clone ESPEasy | ||
| + | * Select a play where you want to store the ESPEasy sourcecode | ||
| + | * ESPEasy will be cloned to your computer: | ||
| + | [[File:Cloning espeasy.png]] | ||
Now you’re ready to work with git. We will explain that in the next tutorial. | Now you’re ready to work with git. We will explain that in the next tutorial. | ||
Revision as of 17:29, 2 March 2017
In order to work with git and github, you'll need some one time preparation.
This may seem a bit of work, but it makes contributing to ESPEasy much easier for everyone.
Creating a github.com account
If you dont have a github account yet, create one for free here: https://github.com/join?source=hero-opensource
- Choose the “Unlimited public repositories for free” option.
- Go to your email and click the verify link.
Forking the ESPEasy repository
To be able to make changes and share them with us, you will need to fork our repository one time.
- Login to your github.com with your account.
- Go the the letscontrol ESPEasy repository, via https://github.com/letscontrolit/ESPEasy
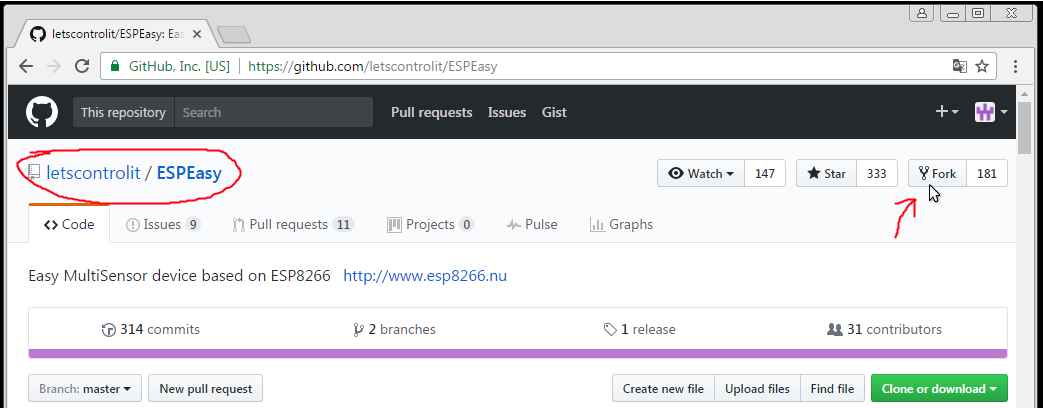
- Make sure you're in the correct repository and click the fork button in the upper right corner:
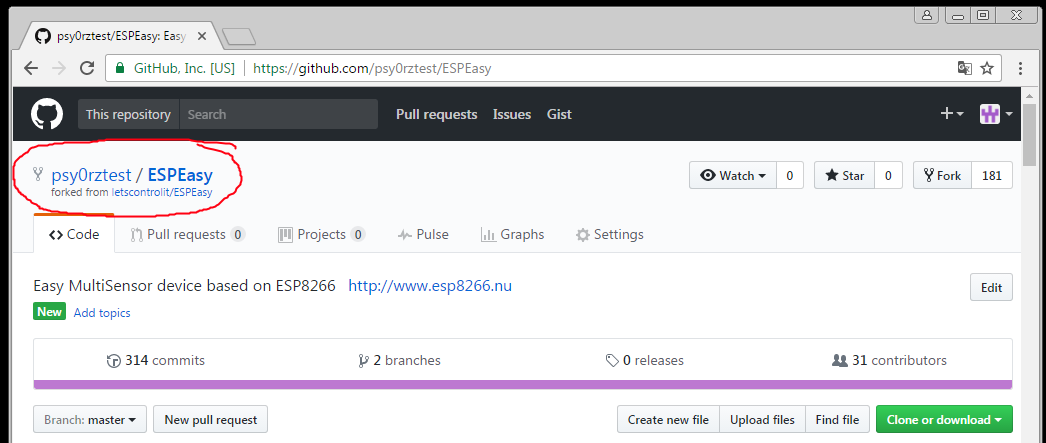
Now you have forked the ESPEasy repository to your own github account:
Now that you've forked ESPEasy to your own github account, you can start making improvements or fixes and send them to us via a pull request.
To be able to do that you need a tool to clone the files to your local computer, and to send the changes back to your github repository.
You can clone your repository to as many computers as you like. In fact: its a great way to make sure you're changes to the sourcecode on different computers doesn't get lost.
Installing Github Desktop
The easiest way to work with github if you're new is with Github Desktop. (there are many other opensource alternatives if you're more experienced with git)
With this tool you can clone the ESPEasy repository to your own pc, make changes, and send those changes back to github.
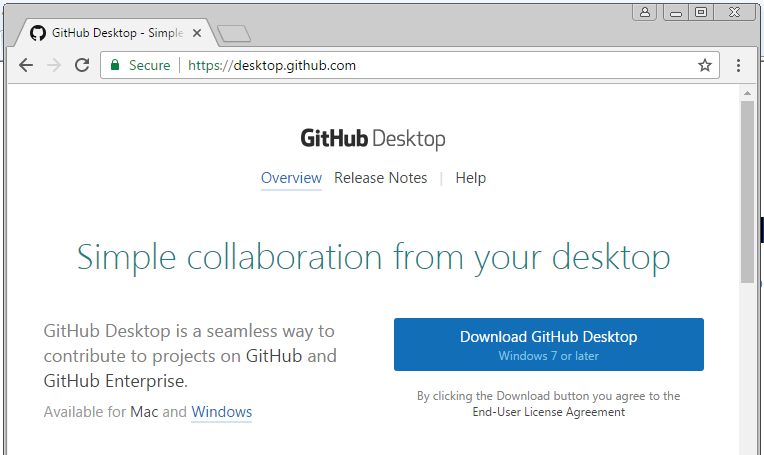
- Download Github Desktop:
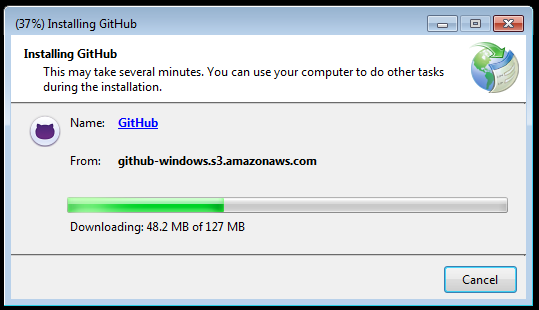
- Start the installer and click though it:
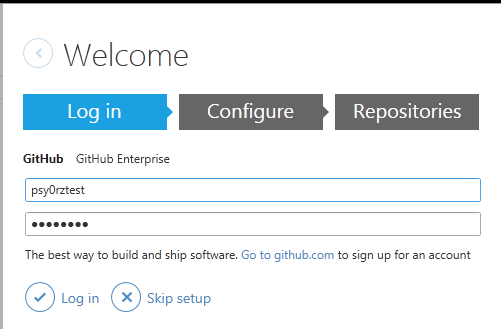
- Desktop will start automaticly with the welcome screen. Login with your github.com account:
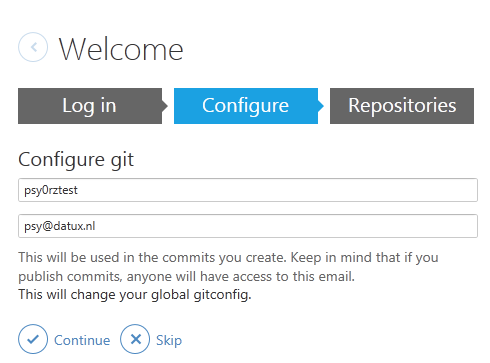
- The configure step is usually ok:
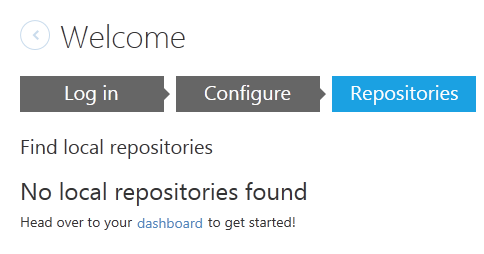
- Skip the Repositories step:
Now you can clone your forked repository to your local computer.
== Cloning ESPEasy to your computer -
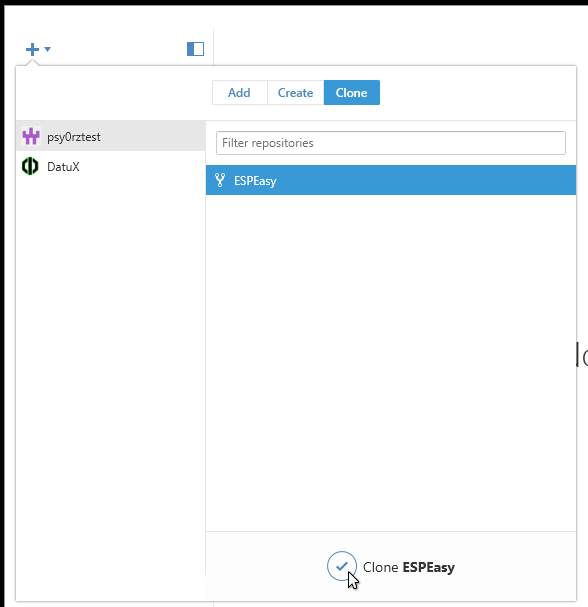
- In GitHub Desktop Click the + in the upper left corner
- Click the Clone tab
- Select the ESPEasy repository:
- Click Clone ESPEasy
- Select a play where you want to store the ESPEasy sourcecode
- ESPEasy will be cloned to your computer:
Now you’re ready to work with git. We will explain that in the next tutorial.
