Tutorial Install Platformio
Jump to navigation
Jump to search
Installing Atom and platformio on Windows
Install the Atom editor
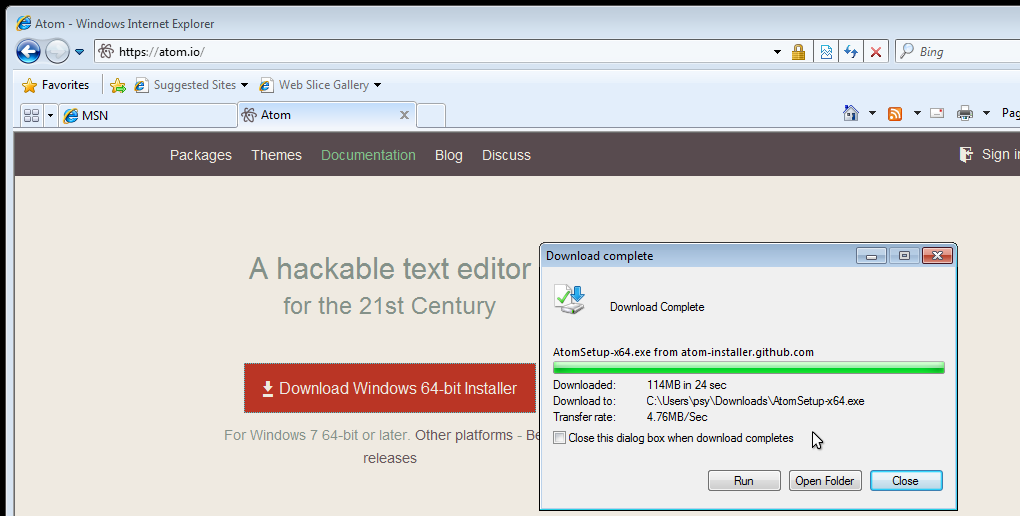
- Download the Atom installer from the site https://atom.io :
- Start the installer and click through them.
- If it also installs the .NET platform you may have to reboot and restart the Atom installer.
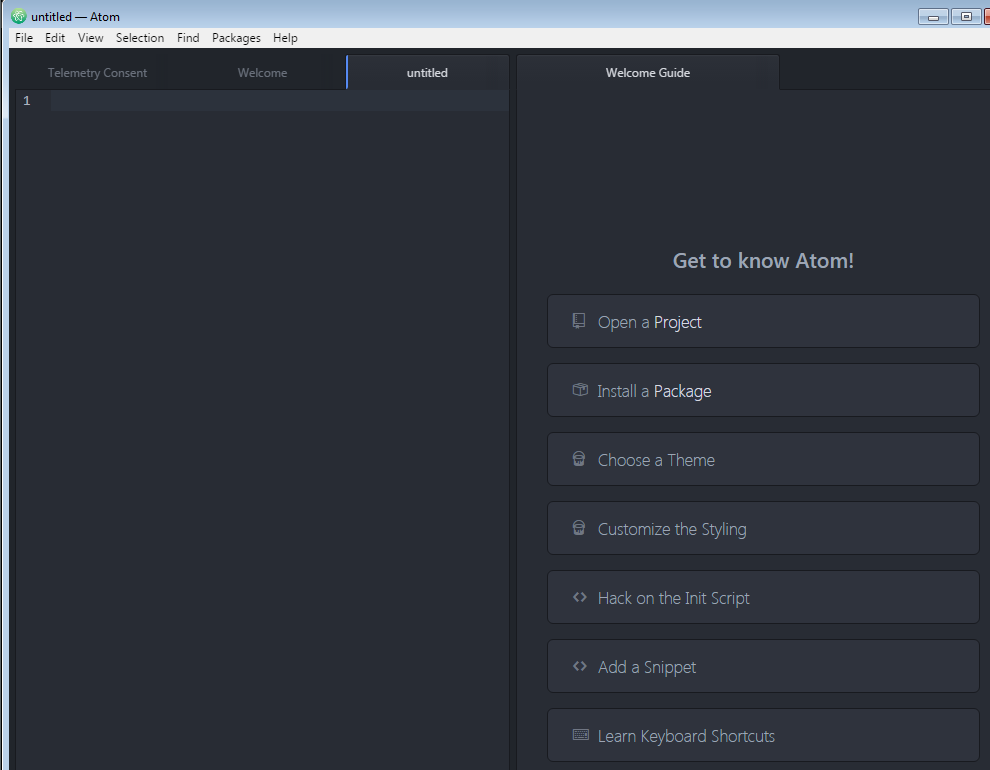
- Start atom:
Now your Atom editor installation is complete.
Install the platformio-ide plugin
Platformio is a plugin for the Atom editor, we're going to install that next.
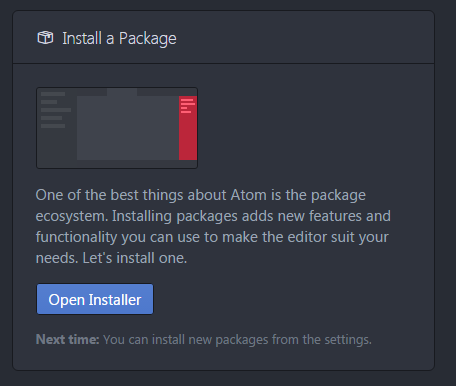
- In the Atom editor click on install a package.
- Click open installer:
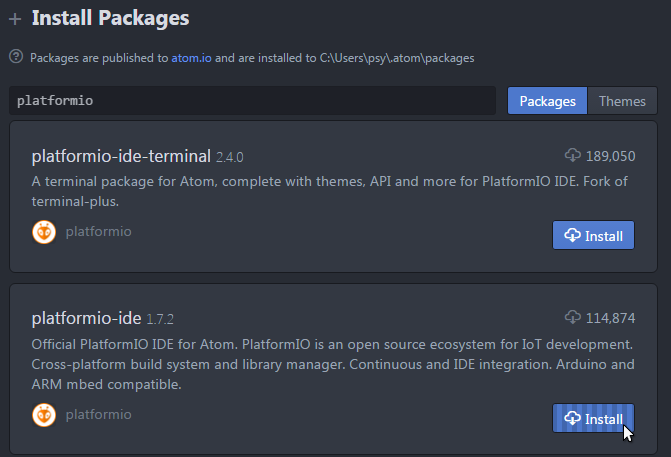
- Search for platformio
- Install platformio-ide:
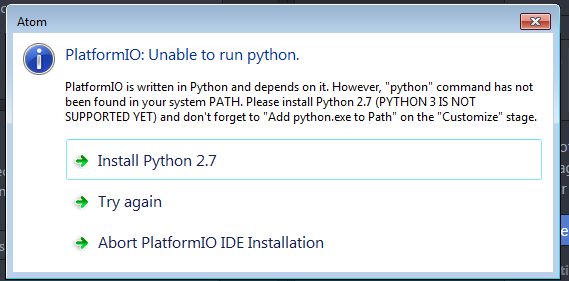
- Install python 2.7 if it asks you, it will take you to the python website:
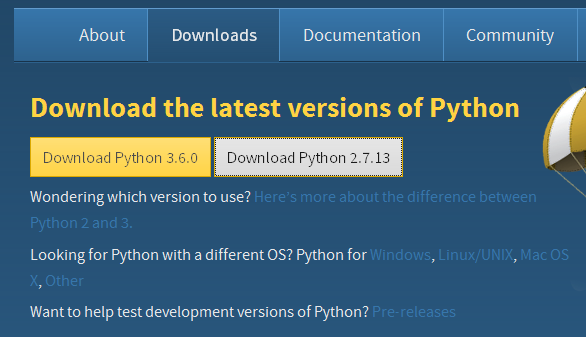
- Click download pyton 2.7 and download the correct installer:
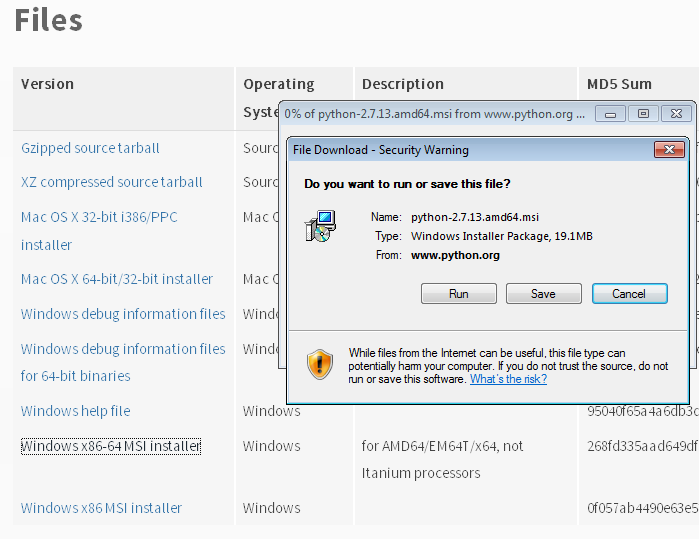
- Download/run the python installer, click through the installer. Default settings are fine:
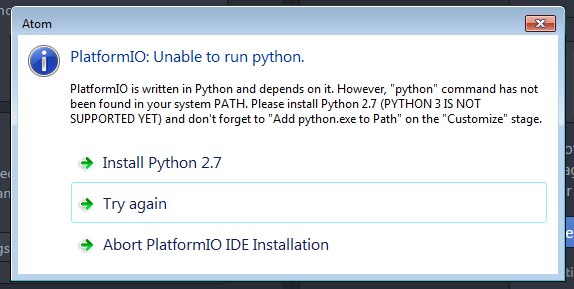
- After installing python 2.7, go back to Atom and click try a again:
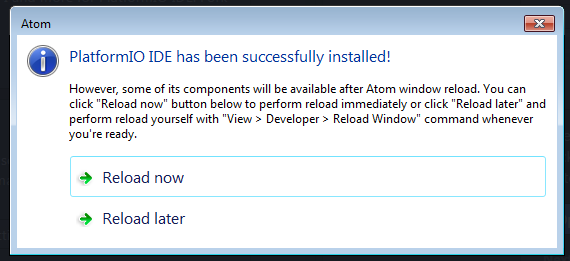
- Click reload now to reload now Atom. (first start takes a while):
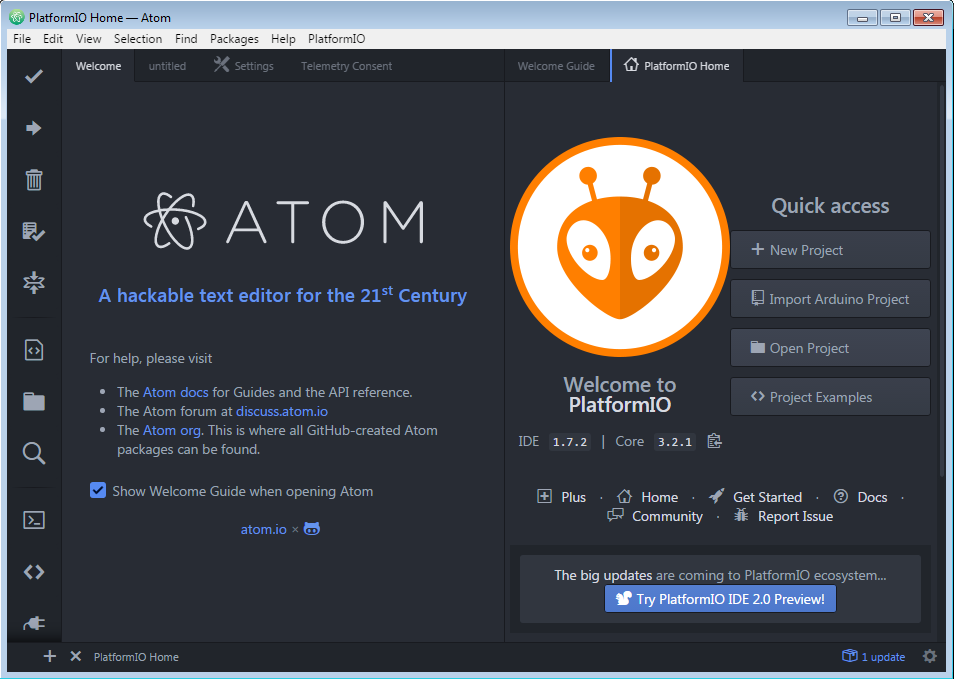
- You should now have an Atom editor with Platformio installed and see this screen:
Now you have platformio. With this you should be able to build and upload to more that 250 different types of boards. (including esp8266 offcourse.)
Look at http://platformio.org/boards
In another tutorial I will explain how to compile ESPEasy.
